To ALL entrants, I want to let you know that I DO comment on all entries (with the exception of Splitcoast and Flickr) so if you don't see a comment from me, please check to see if there are any comments awaiting moderation or in SPAM. A lot of comments are in SPAM and bloggers don't realize it.
Showing posts with label gift idea. Show all posts

Monday, February 9, 2009

Paper Bag Mini-Album

Today I have a mini-paper bag album for you!

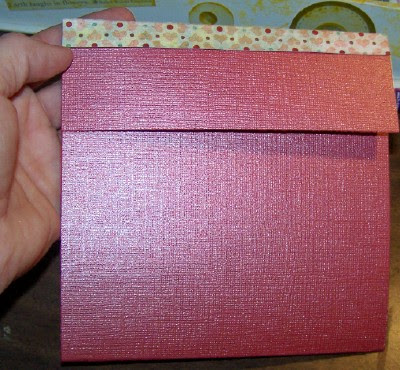
These bags are approx 6 1/2 x 3 1/2 inches.


I used 4 bags. You can use less. I wouldn't recommend more as it will get too bulky.

Fold the bags in half. Then stack them together. I alternate them, so that the openings are not all together. If you put them together all the same way, then one half of the album will be thicker than the other. All the bottoms will be on one side, and the openings will be on the other. In alternating them, the album is evened out.


Staple the bags together and glue a piece of paper to cover the staples OR you can punch holes and add ribbon and tie them together.


Now the fun really begins! Time to play with the cover and pages inside. Here's what I did...
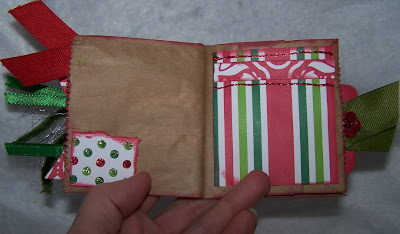
The places where the bag opens, I made extra spaces to pics or journalling. These are the tags I made:

Wednesday, January 7, 2009

Cute gift idea!!!

Click here to see a tutorial on how to alter a Nestle Cocoa Box. It's a cute idea!!!

Hope you are all having a great 2009 so far!!!!! I've still not totally gotten back my scrapping/cardmaking mojo yet! Hoping that after this weekend I will!!!

Tuesday, December 16, 2008

Card Holder & Matching Cards/Tags

Card Holder and Matching Cards/Tags

You will need:
~6x6 page protector
~12x12 cardstock
~12x12 matching patterned paper
~your choice of embellishments (eg, brads, rubons, ribbon, flowers, ink, stamps)
~adhesives

1. Cut the cardstock down the center so you have -2- 6x12 pieces. One 6x12 piece will be used to make the card holder. Fold this in half.
Using the other piece, cut off a piece 2x6. This little piece will be used for the flap of the card holder.
The left-over will be used for a card, so cut it into a 5 1/2X 8 1/2 piece and fold it. Keep all scraps.


2. Cut the patterned paper into a 8 1/2X12 piece.Then cut this piece into -2- pieces of 5 1/2X 8 1/2 (for the cards) and fold them.Again, keep the scraps.


3. This is what you will have once you have your pieces all cut.


4. Using the piece that you cut for the card folder (6X12), glue the 2X6 piece onto it for the flap using a piece of scrap, as shown.


It will look like this.


5. Using the card pieces and scraps create any occasion cards and tags.
See samples:


6. Decorate the front of the card holder. Place the cards inside the holder and fold the flap down. Carefully slip them into a page protector ( I carefully cut the holes off the edge of the page protector to give it a neater look when finished)


I've made a few of these and given them as gifts. Great idea.